How to use a scanner attached to a Linux PC
The command is called xsane. Note: Your desktop will look slightly different from the screenshots in this page, because they were created using an older window manager. xsane still opens the same windows as it used to so the instructions should still be helpful.
- Place your image in the scanner, face down against the top right hand corner.
- Type in the command xsane. This opens a number of windows.
- Use the xsane window to select whether you want the image in colour, or black and white or greyscale and how what resolution to scan it at. For web pages we recommend 72dpi while for newsletters 300dpi.
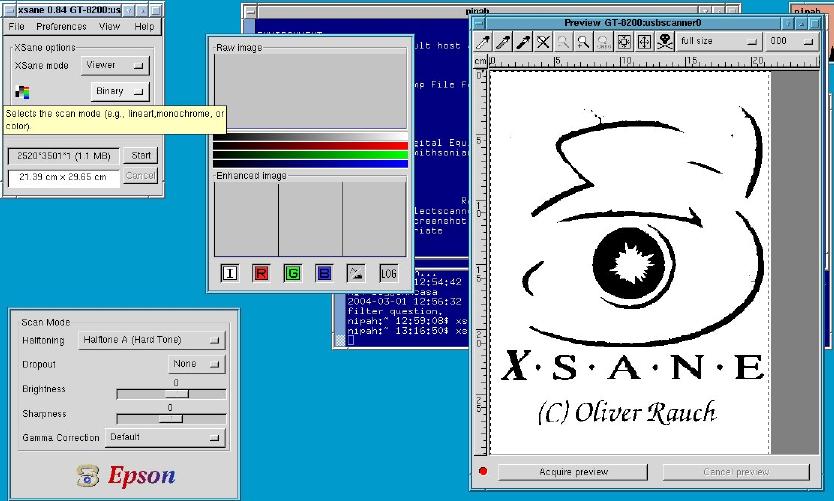
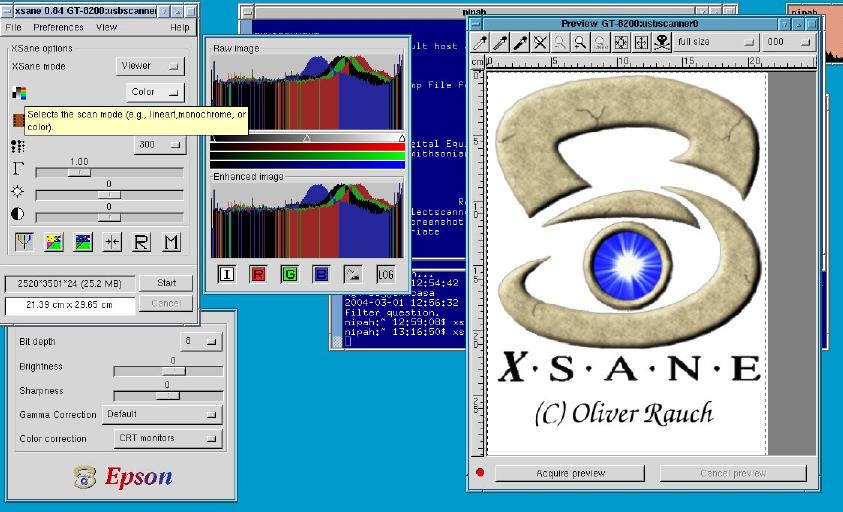
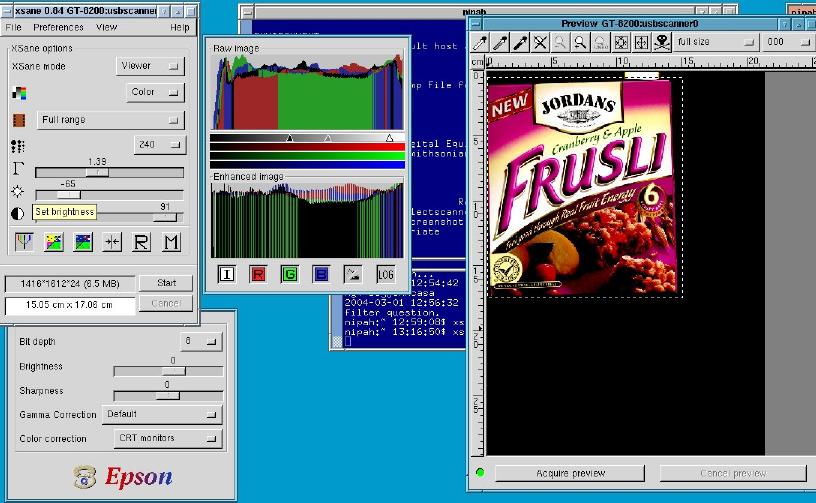
- When you change the selection the window should display different options. In this example we are scanning a coloured image.
- Hover the mouse over any of the buttons, menus or sliders to see option they will change
- Select acquire preview and a preview of the image wil be taken (Acquire Preview is located at the bottom of the screen towards the right)

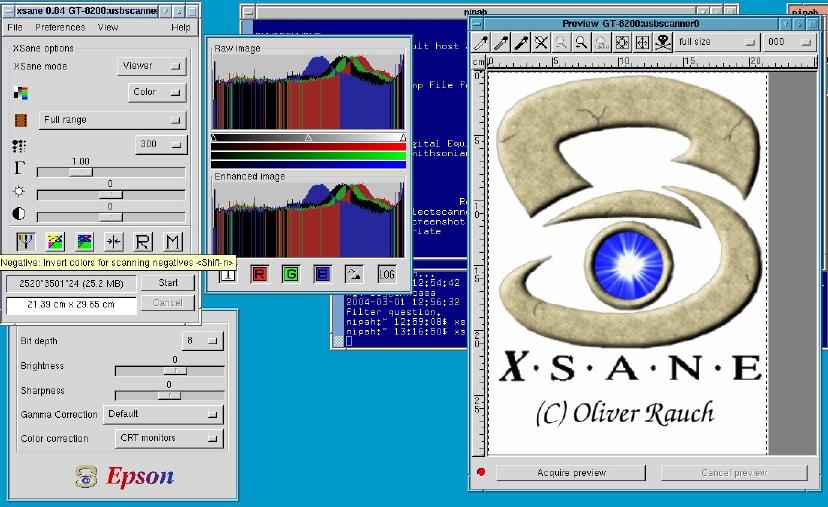
- Hold down the left mouse button to draw a box around the preview of the image to select the part of the preview you would like to scan.
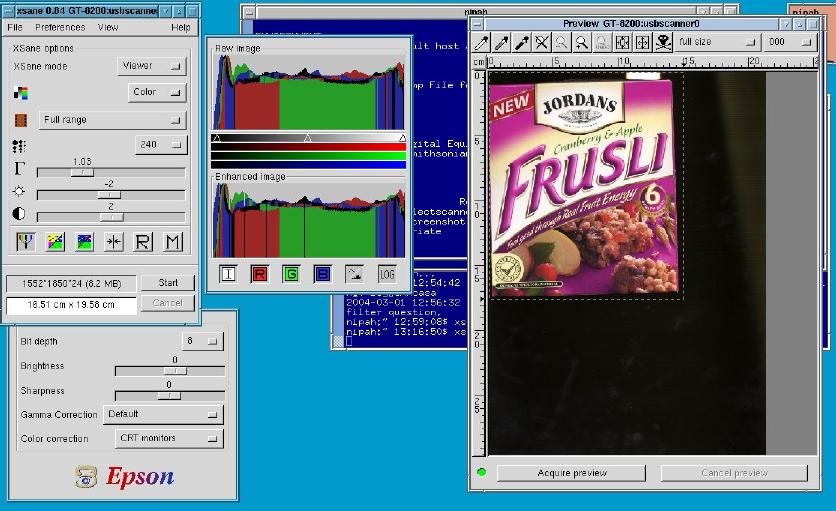
Don't worry if there is some border - an image manipulation program such as xv can be used when you are finished scanning the picture to cut borders.
- Experiment with the options in the xsane window and watch their effect on your image.
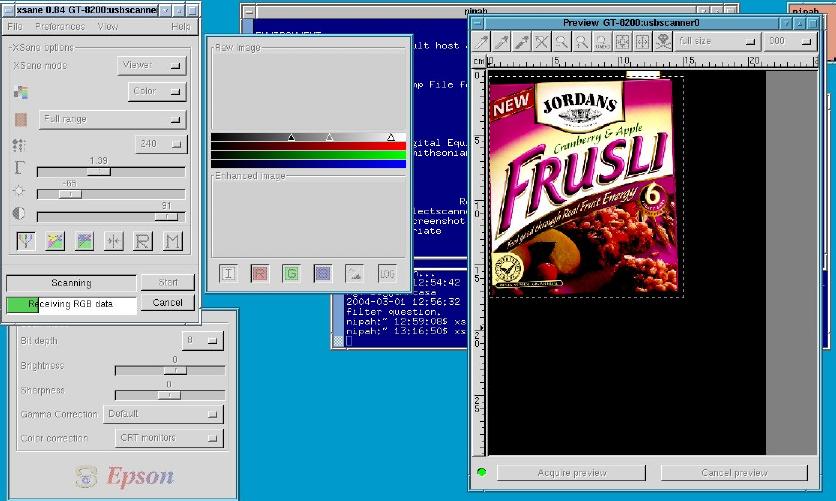
- When you are happy with the result select start to start the scan. The start button is located in the same window as the options. In the diagram below it is above the cancel button which is beside the green bar (Receiving RGB data).
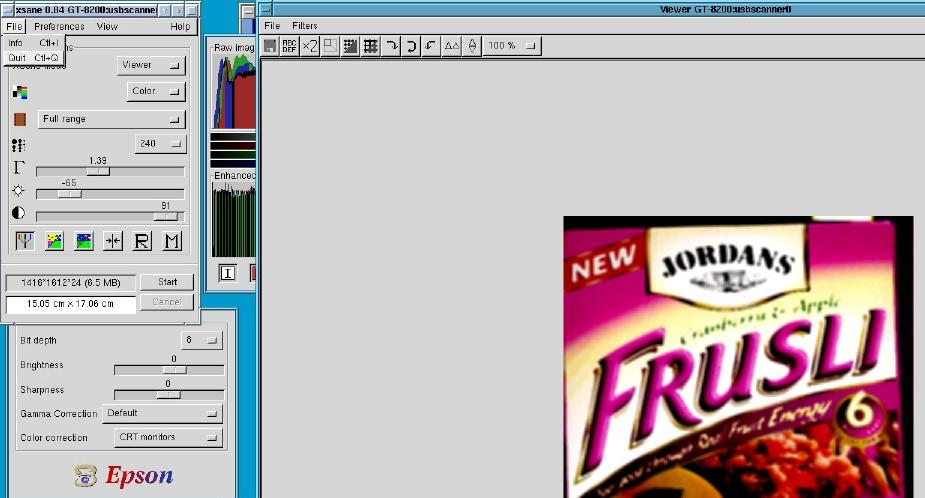
- A window with your picture will be displayed.
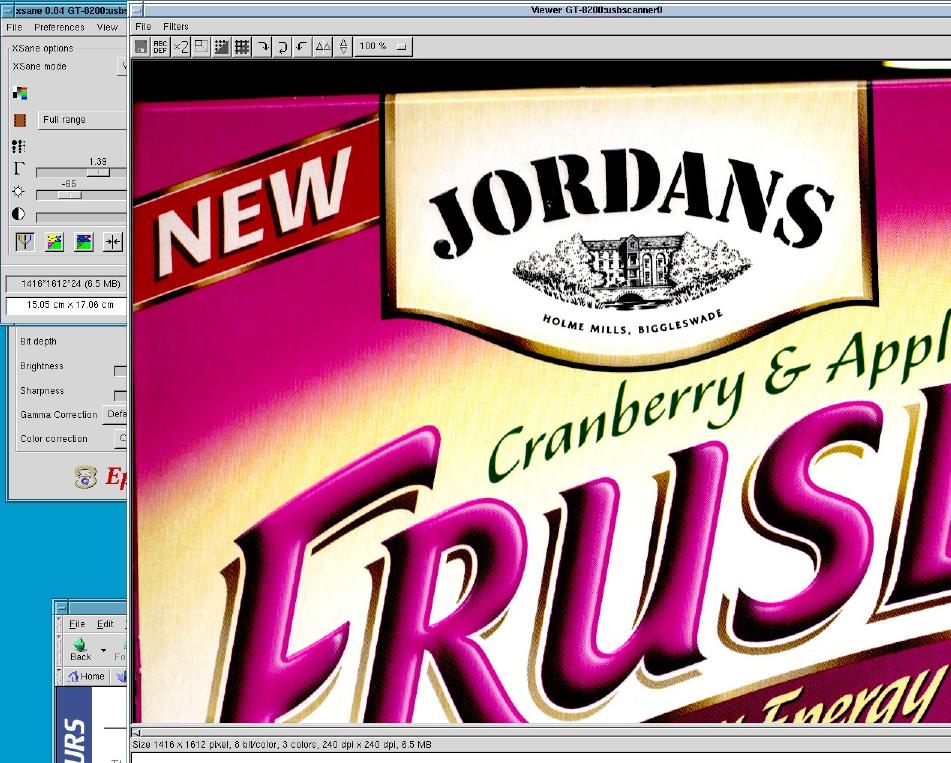
- Looking down towards the base of this picture we can see the size the file containing the image will be if we save it. In this case it is clearly too large at 6.4Mb.
-
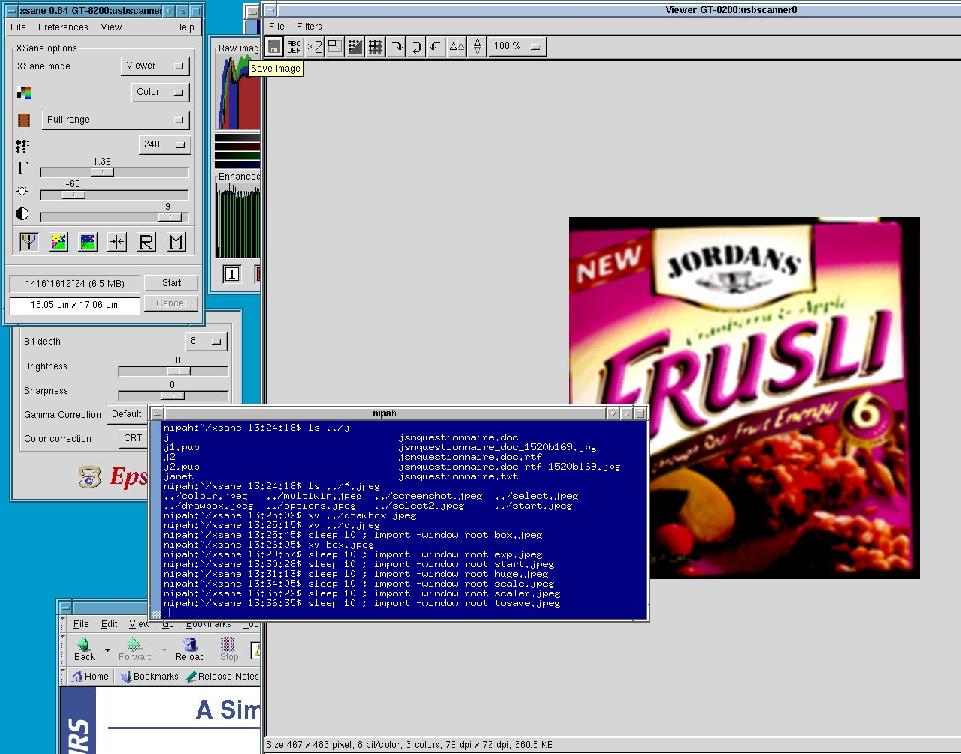
We can scale the image down. Select the scale image button (a box in a box below) and select how much to scale the x and y dimensions by. The mouse can be hovered over the various buttons above the image to see what they do.
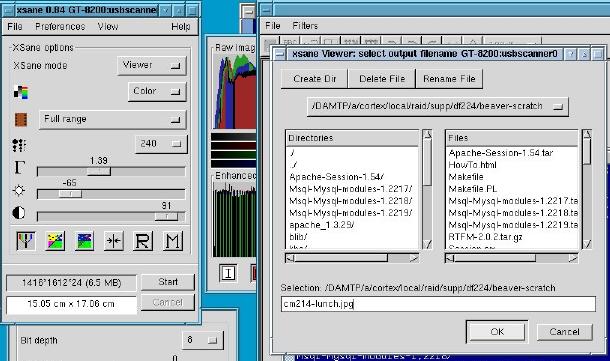
- To save the end result click on the button marked with a disk.
Select the directory and name for the file. The default name is out.pnm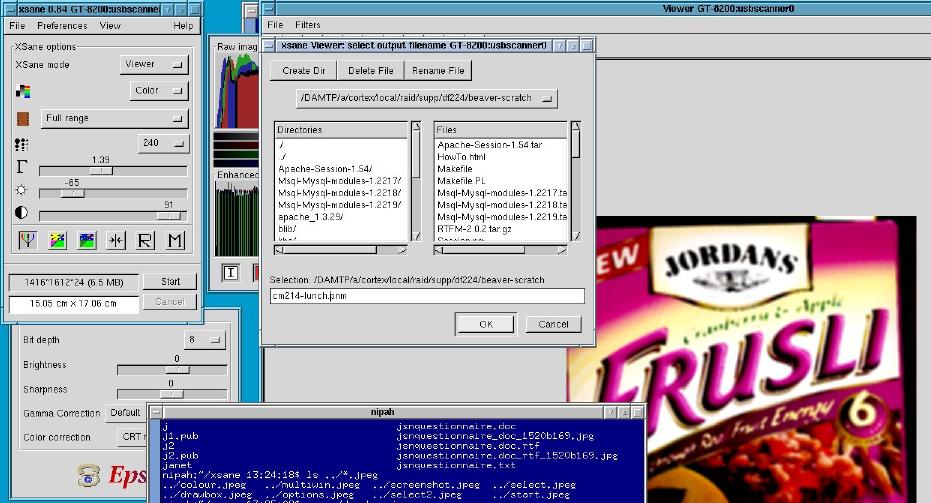
The image can be saved in other formats by giving its filename the appropriate ending for example to save it in jpg format:
Note that the convert program can be used at a later stage to transform images from one format to another. Its syntax isconvert image.format1 image.format2 eg convert image.tiff image.jpg
- quit out of xsane.
If you are unhappy with the image later on you can brighten it, magnify it, flip it, rotate it etc using the program xv or gimp from any linux computer.